
Paver installation is an art that combines precision, patience, and a touch of creativity. Whether you're looking to enhance your backyard with a new patio or add a charming walkway to your garden, mastering the craft of paver installation is essential. Here are some essential tips to help you on your journey to becoming a paver installation pro.
Choosing the Right Pavers: The Foundation of Success
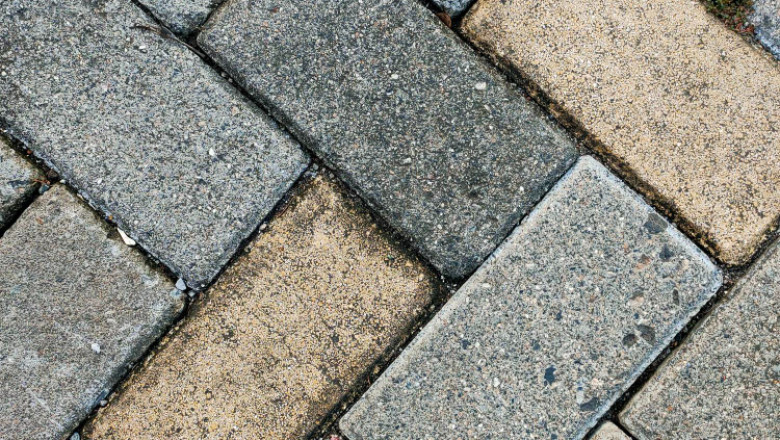
The first step in any successful paver project is selecting the right materials. You'll need to consider the type of pavers that best suit your project's aesthetic and functional needs. Concrete pavers are budget-friendly and versatile, while natural stone pavers offer a touch of luxury and durability. The size, shape, and color of the pavers will also play a significant role in the overall design, so take the time to choose wisely.
Preparing Your Base: The Key to Longevity
A solid base is crucial for the longevity of your paver installation. Start by marking the area with stakes and string to create a blueprint of your design. Excavate the area to a depth of about 6 inches to accommodate the pavers and a layer of sand or gravel. A well-prepared base ensures proper drainage and stability for your pavers.
Laying the Pavers: Precision and Patience
With your base ready, it's time to lay the pavers. Begin from the center of your area and work outward to ensure a balanced look. Leave small gaps between the pavers for jointing sand, which will help lock them in place and prevent shifting. Use a rubber mallet to gently tap the pavers into the sand, checking for level as you go.
Finishing Touches: The Details That Matter
Once all the pavers are laid, it's time for the finishing touches. Sweep jointing sand into the gaps between the pavers to secure them further. If you're installing concrete pavers, consider sealing them to protect against stains and enhance their color. Lastly, take a step back and admire your handiwork – a beautifully paved area that you've created with your own two hands.
Maintenance: Keeping Your Pavers Pristine
Proper maintenance will keep your pavers looking great for years to come. Regularly sweep away debris and rinse with water to prevent staining. If weeds start to appear between the pavers, remove them promptly. For tougher stains, a mild detergent and a stiff brush can do the trick. With regular care, your pavers will continue to be a source of pride and enjoyment.
By following these essential tips, you'll be well on your way to mastering the craft of paver installation. Remember, every project is a learning experience, and with each stone laid, you're building not just a path or patio, but also your skills and confidence as a DIY enthusiast.
What tools do I need for paver installation?
Embarking on a DIY paver installation project can be a rewarding endeavor, transforming your outdoor space with your own hands. However, having the right tools at your disposal is crucial for ensuring the process is smooth and the results are professional. Here's a comprehensive list of tools you'll need to tackle paver installation effectively:
Essential Tools for Paver Installation
1. Wheelbarrow: A sturdy wheelbarrow is indispensable for transporting materials like sand, gravel, and pavers across your work site.
2. Shovels: You'll need both flat and pointed shovels for excavating the area and spreading base materials.
3. Compactor: A plate compactor is used to tamp down the base, ensuring a stable foundation for your pavers. For smaller areas, a manual tamper may suffice.
4. Level: A level is necessary to ensure your base is even and has the correct slope for drainage.
5. Bricklayer Gloves: Protect your hands with heavy-duty gloves, especially when handling pavers and performing labor-intensive tasks.
6. Tape Measure: Precision is key, so a reliable tape measure will be one of your most-used tools to get the dimensions right.
7. Wood Stakes and String: These are used to mark out the area and help maintain the design's integrity as you lay down the pavers.
8. Rubber Mallet: A rubber mallet helps to adjust the pavers into place without damaging them.
9. Personal Protection Equipment: Safety glasses, ear protection, and durable gloves are essential to protect yourself during the installation process.
10. Rake: A good rake is necessary for spreading gravel evenly across the base.
11. Screed Rails and Bar: These tools help to level your setting bed perfectly.
12. Broom: A broom is useful for cleaning the area and clearing debris from between the pavers.
13. Hand Level: To ensure your pavers are level throughout the installation.
14. Saws: If you need to cut pavers to fit your design, a saw specifically designed for cutting stone or concrete is required.
15. Knee Pads: Paver installation can be tough on the knees, so invest in a good pair of knee pads to keep comfortable during the process.
By gathering these tools before you begin your project, you'll be well-equipped to handle each step of the paver installation process with confidence. Remember, the quality of your tools can significantly impact the ease of installation and the quality of the finished project. Choose wisely and take the time to familiarize yourself with each tool's proper use for a successful and satisfying DIY experience.


Comments
0 comment